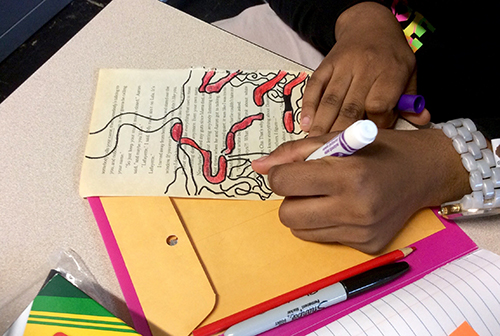
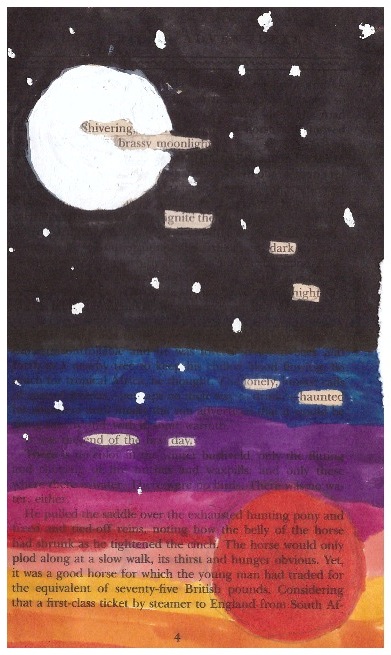
 The primary purpose of descriptive writing is to describe a person, place or thing in such a way that a picture is formed in the reader’s mind. Capturing an event through descriptive writing involves paying close attention to the details by using all of your five senses.
Spark your thinking!
1. Set up your language arts mini spark recording page: #49: Descriptive Writing
2. Watch this Ted-Ed Video. Watch this video. Record the sentence from Hurricane Fever on your recording sheet. Explain how the words are chosen to help the reader connect with the story with their senses.
3. In the video, the narrator describes the characteristics of descriptive writing and gives several examples. Read these 4 reminders and summarize each one on your recording sheet.
- Good descriptive writing includes many vivid sensory details that paint a picture and appeals to all of the reader’s senses of sight, hearing, touch, smell and taste when appropriate. Descriptive writing may also paint pictures of the feelings the person, place or thing invokes in the writer.
- Good descriptive writing often makes use of figurative language such as analogies, similes and metaphors to help paint the picture in the reader’s mind.
- Good descriptive writing uses precise language. General adjectives, nouns, and passive verbs do not have a place in good descriptive writing. Use specific adjectives and nouns and strong action verbs to give life to the picture you are painting in the reader’s mind.
- Good descriptive writing is organized. Some ways to organize descriptive writing include: chronological (time), spatial (location), and order of importance. When describing a person, you might begin with a physical description, followed by how that person thinks, feels and acts.
4. Give it a try! For the following sentences, rewrite it using rich descriptive language. Keep the five senses in mind. You can use the following and rewrite each OR use one as a prompt and write a descriptive paragraph or stort story. Record all work on your recording sheet.
- Sight – The girls went to the city park.
- Sound/Hearing – We went to the stadium to watch our favorite team.
- Smell – The waitress brought our food to the table.
- Taste – My grandma made us cookies.
- Touch – I walked to school this morning not knowing they had called a snow day.
5. Share your language arts mini spark recording page with your teacher/EY coordinator.
 For this mini-spark, we will focus on the literary device Flashback. Flashbacks in literature are when the narrator goes back in time for a specific scene or chapter in order to give more context for the story. Oftentimes, we see flashbacks in books where the past greatly impacts the present or as a way to start a story off on an interesting note.
 Blackout poetry is when you take a piece of text from a book, newspaper, or magazine and blackout words to create your very own poetry
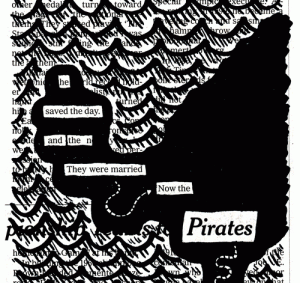 ut poem is that the text AND redacted text form a sort of visual poem. When only the chosen words are visible, a brand new story is created! Define blackout poetry on your recording page.
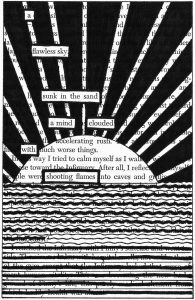 4. Blackout poems, as I’m sure you can imagine, run the gamut from absurd to sublime because all of the words are already there on the page, but the randomness is all part of the fun! We truly believe a poem lives within the words and lines of any page, and encourage you to uncover it. Creating a blackout poem involves steps that are all about deconstruction and then reconstruction. Look up both of those words and write the meaning on your recording page.